
I just got back home last weekend. And while still jet-lagged, I managed to finish framing and mounting my dried sunflowers that I brought back from France with extra-special care and painstaking effort.
 |
| My freshly framed dried sunflowers |
Click and scroll for the whole DIY story…
First off, you will need the following:
– Medium sized sunflowers, preferably the ones that have not fully bloomed yet
– Silica gel or silica sand (lots of them… I bought 1kg)
– Shallow containers with lid/cover to hold and store the sunflowers while they dry
– Picture frame ( I used the Ikea one)
– A piece of art paper for background (I just made use of my Canson Mi-teintes pastel painting papers)
– Glue stick or any type of glue that can hold the flowers in place
– Soft brush
– Fixative
Now the steps:
Cut the sunflowers late during the day, not in the morning when there is dew and not when it had just rained. The reason for this is that you need the sunflowers dry (obviously). Carefully select the ones that are medium size because they will dry faster, and those that have not fully bloomed yet.
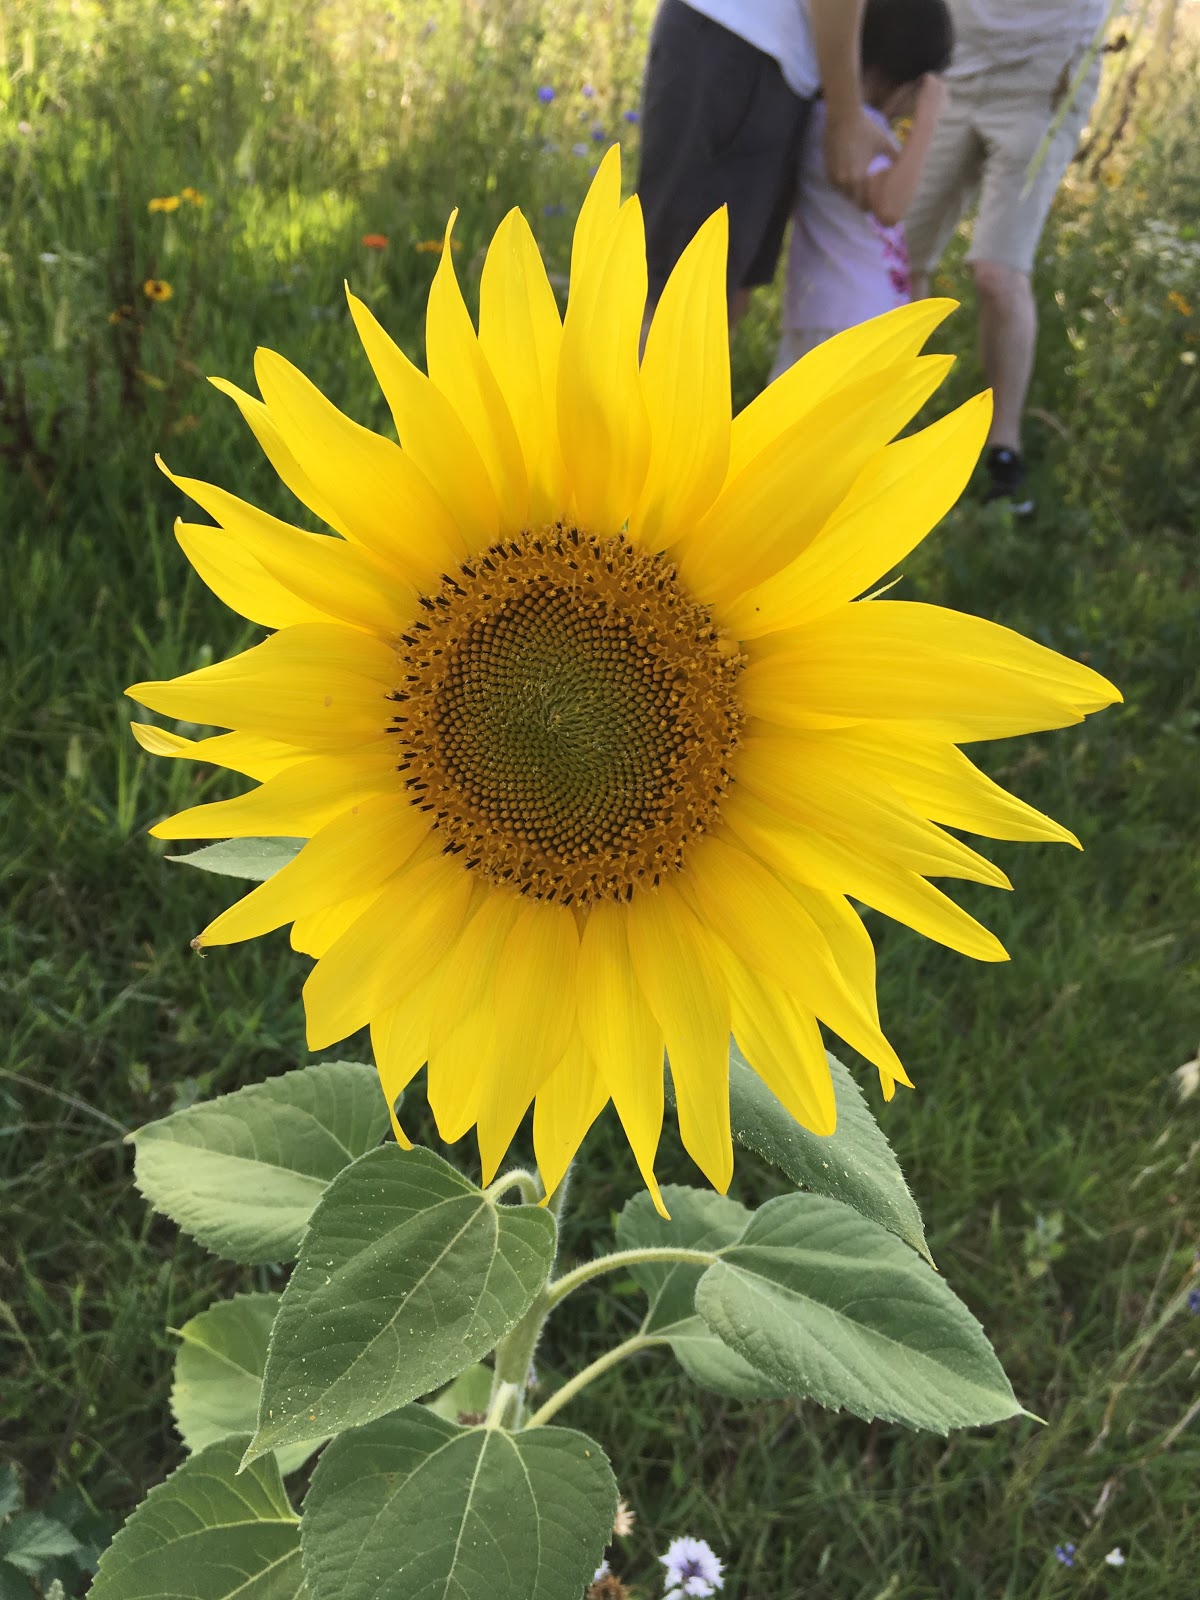 |
| They are called tournesols in France which literally translates to “turns to (or follows) the sun” |
 |
| My posse on the hunt for wild sunflowers |
At first, I tried to hang them upside down in a bunch like what I did with the lavender. But then, I forgot about gravity. I just dumbly followed some instructions that I saw on wikihow. But anyway, mistakes are precious opportunities for learning. Thankfully, I still had time to go on another wild sunflower hunt with hubby.
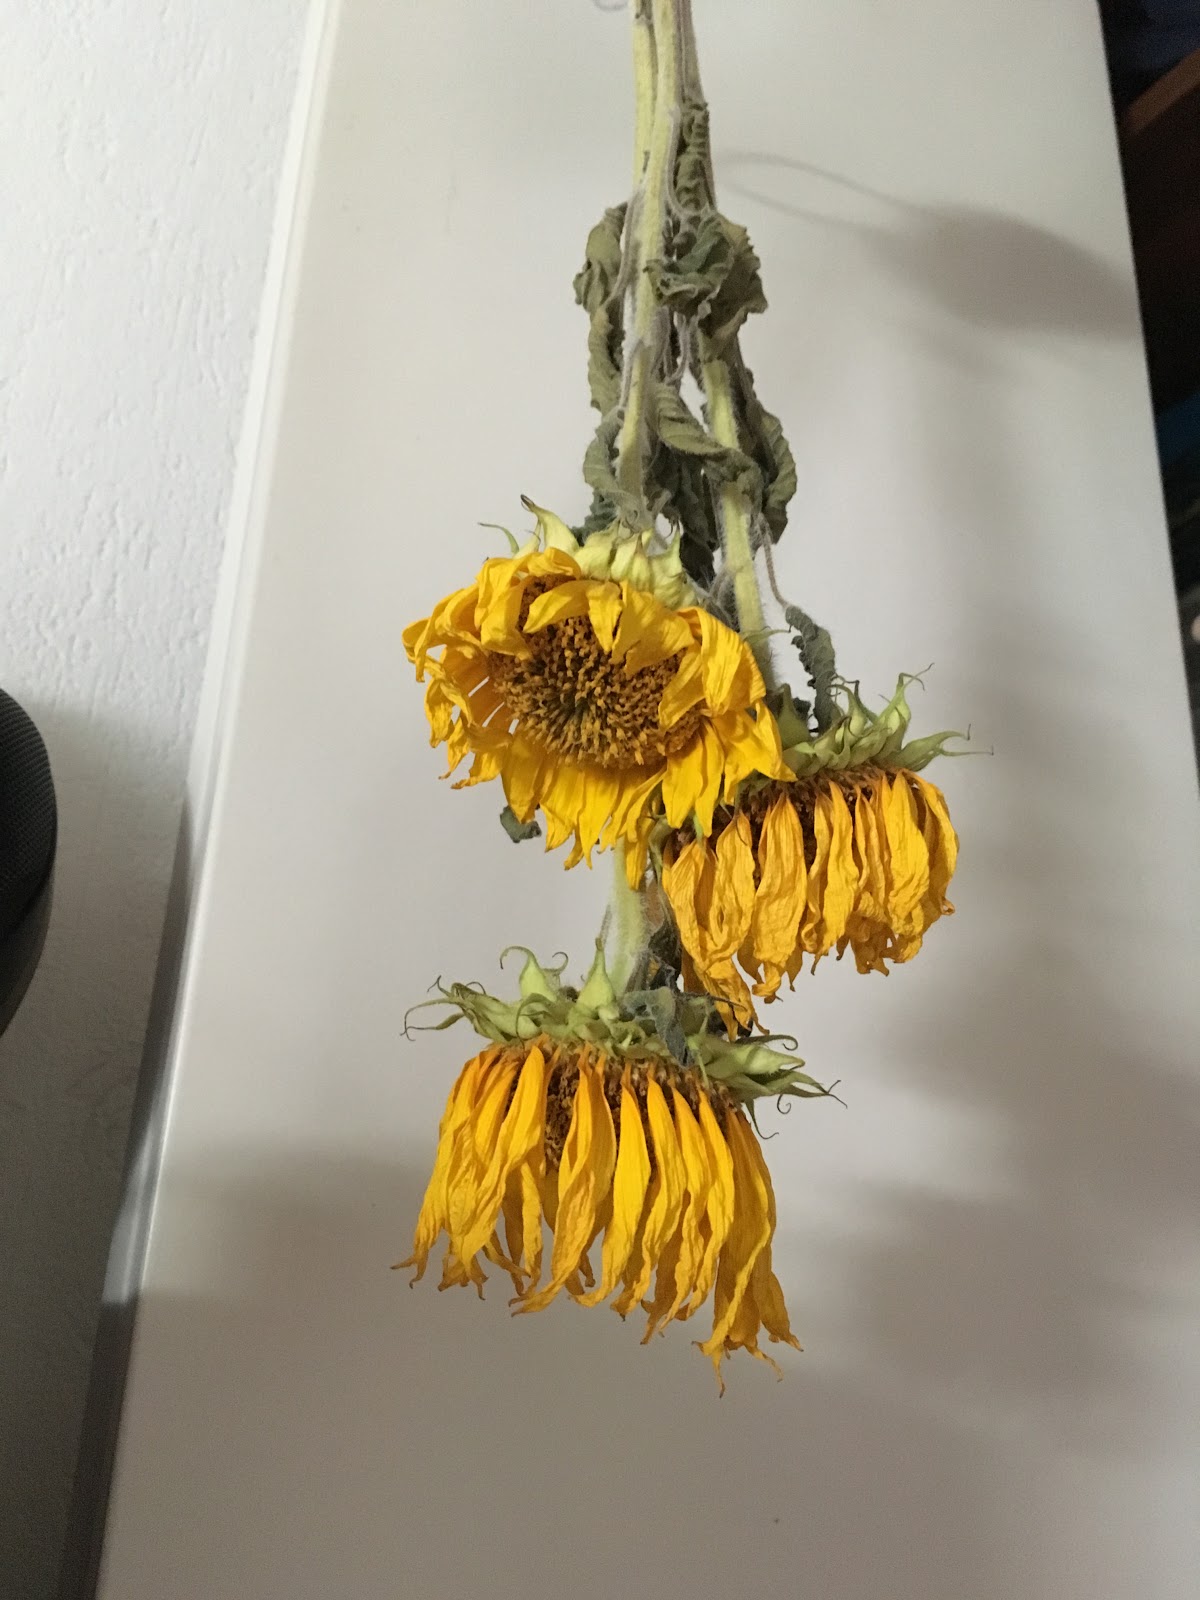 |
| Failed first attempt |
And so, I was lucky enough to again find sunflowers growing in the wild. I picked five pieces of them. I experimented on how they should be stored with silica sand. Unfortunately, only three of them looked presentable enough for framing.
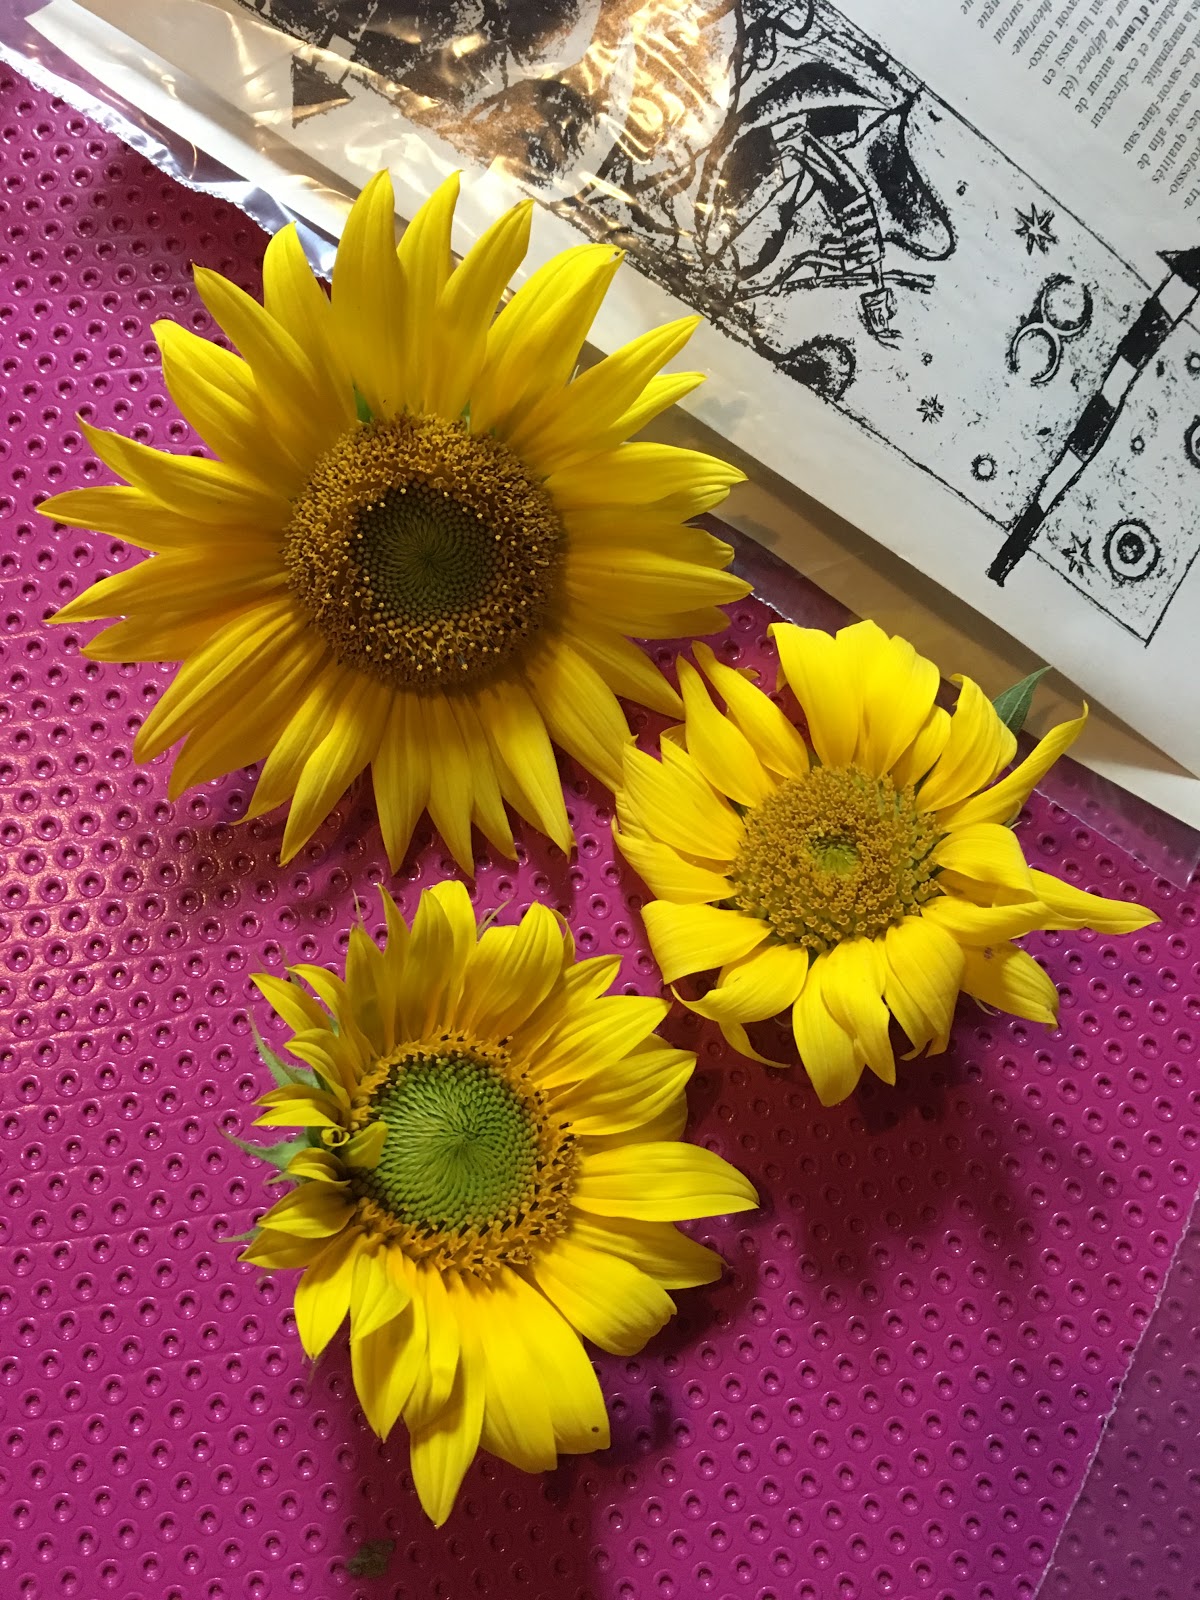 |
| Second batch of flowers to be dried |
The tip to not getting the petals to shrink as it dries is to first pour a bed of silica sand onto the container, and then lay the sunflower flat on the silica sand layer. And then completely cover the whole flower with silica sand. I realized now the reason why I have to completely cover the flower in silica sand. It’s because the weight of the silica sand presses onto the flower petals and prevents them from shriveling up as they dry. I made a mistake of not doing this on most of the flowers that I picked. Also, it will dry faster if you seal up the container.
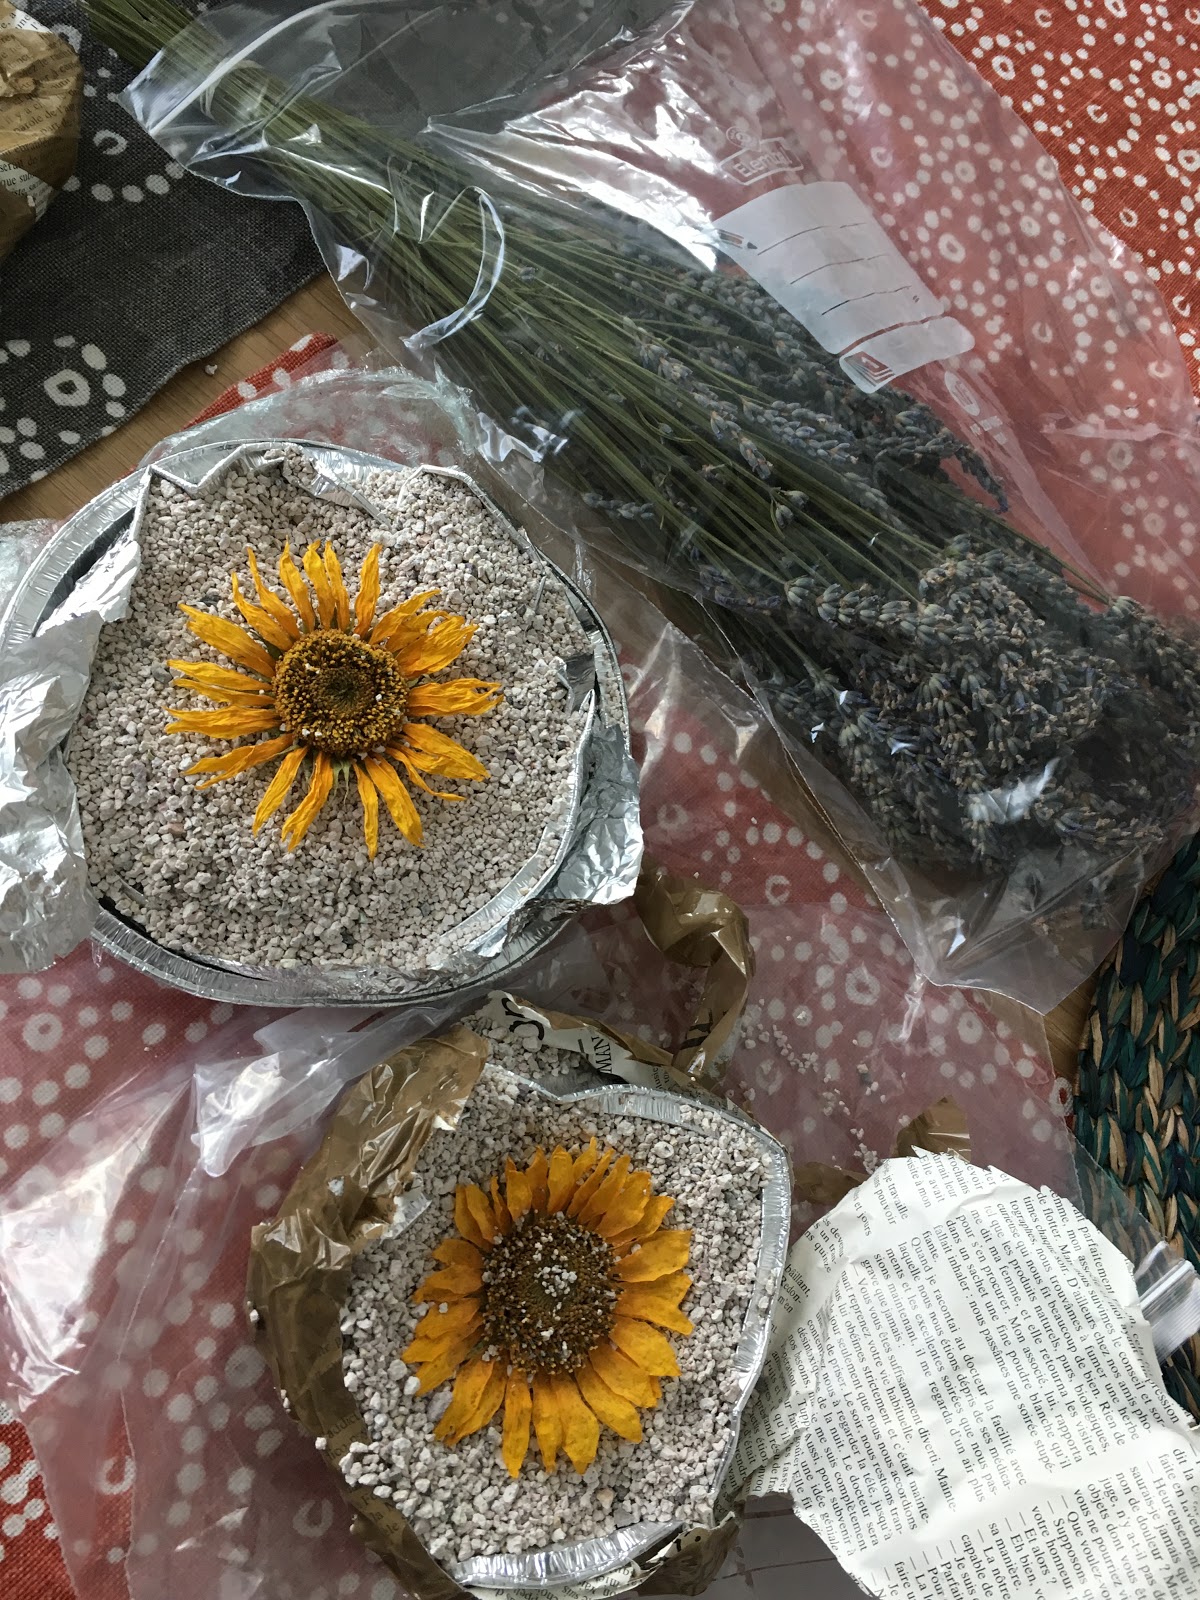 |
| Notice the one on the top that is a bit more wrinkly than the other. This is because I did not completely cover it with silica sand, for experiment. |
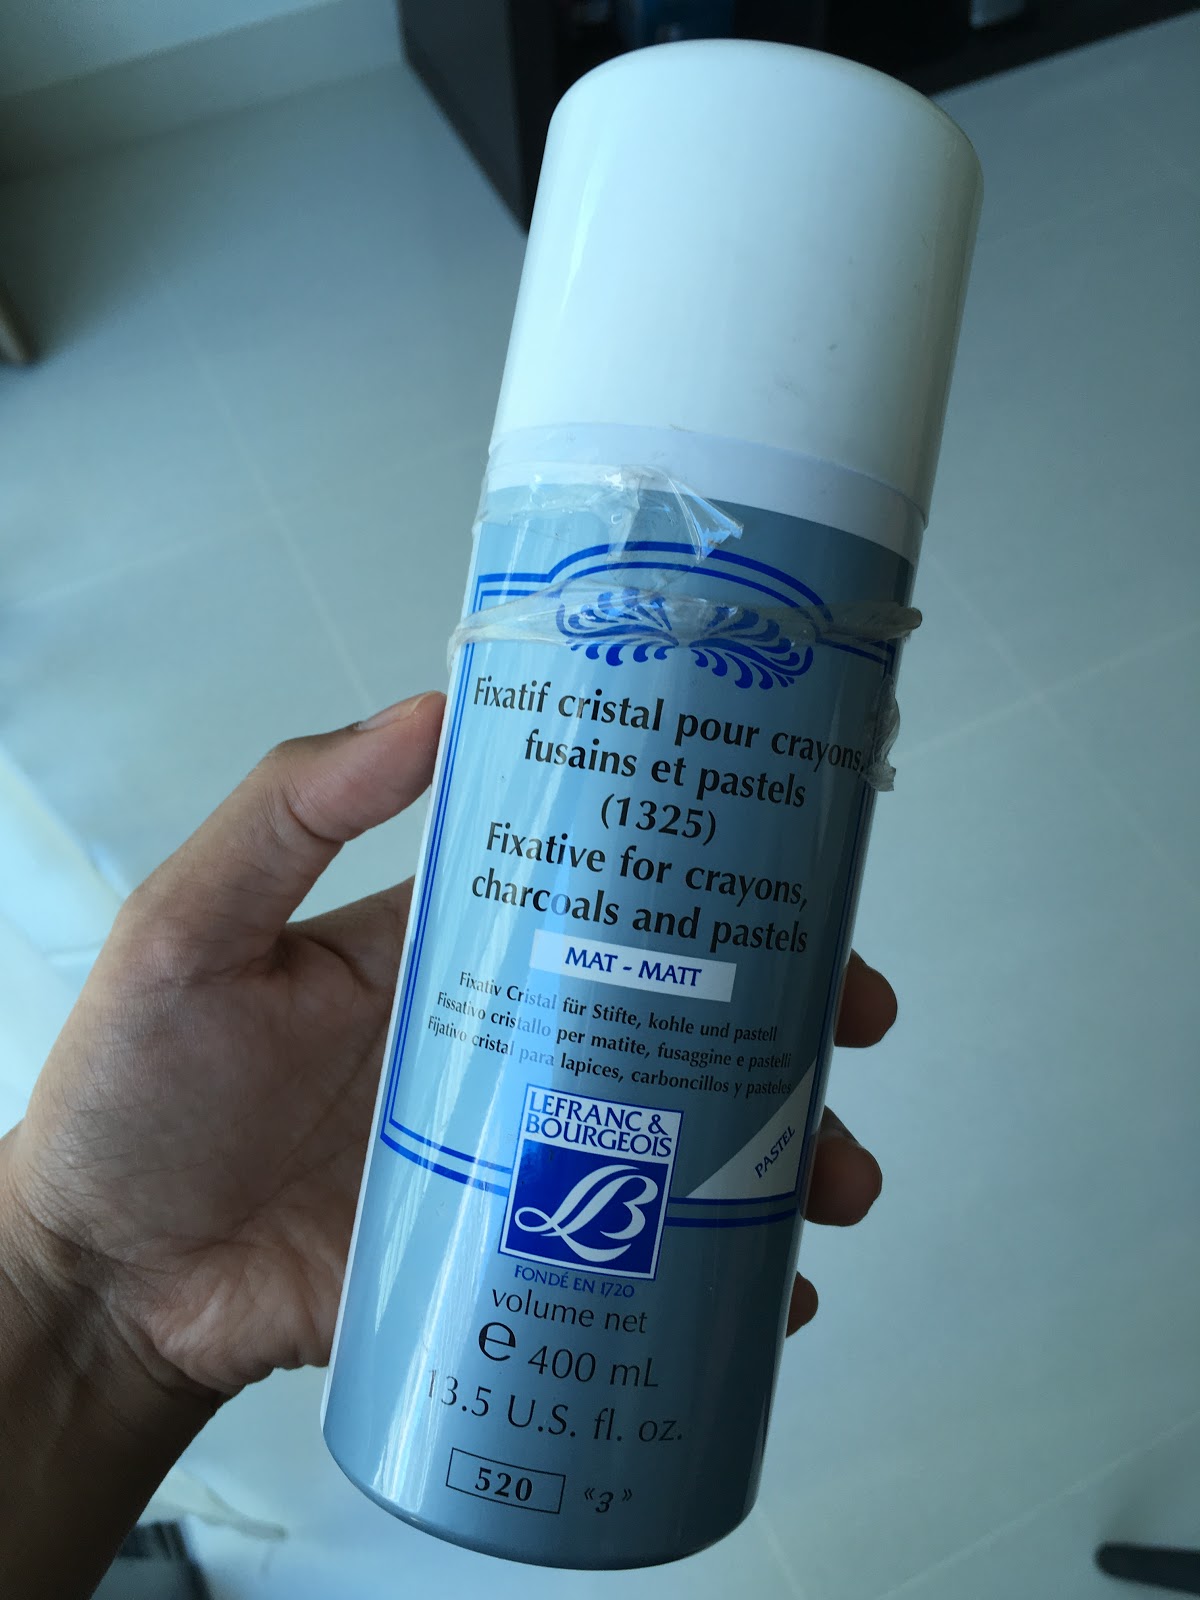 |
| The only fixative I have around… hopefully it does the work |
I used some of my old pressed flowers for accents. These flowers are from six years back. I ordered them from a shop at etsy.com for use during my wedding six years ago! I hope my sunflowers last that long!
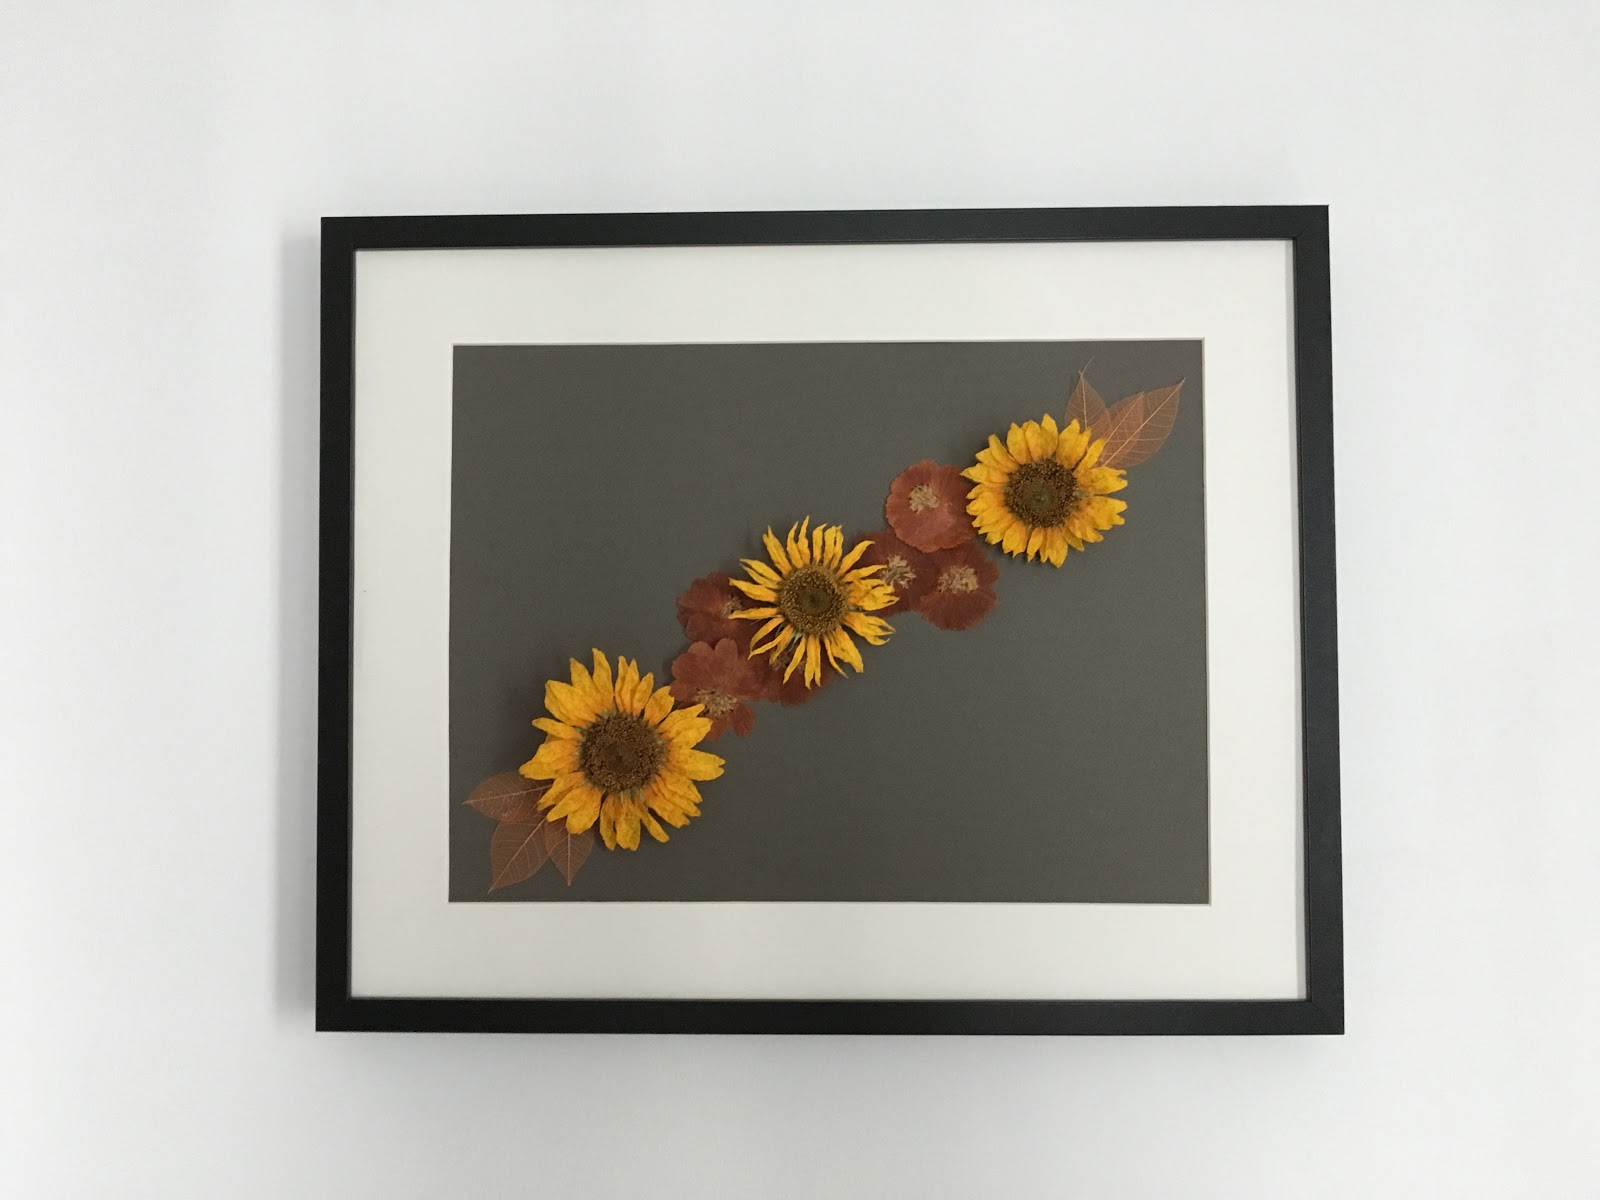 |
| I think it looks simple and beautiful 🙂 |
I also chose a neutral shade for background (art paper) so that the color of the sunflowers would stand out. I sprayed the sunflowers with fixative before gluing them onto the paper. I used the fixative that I use for my charcoal drawings and pastel paintings. Hopefully, it will do the job of protecting the flowers from humidity.
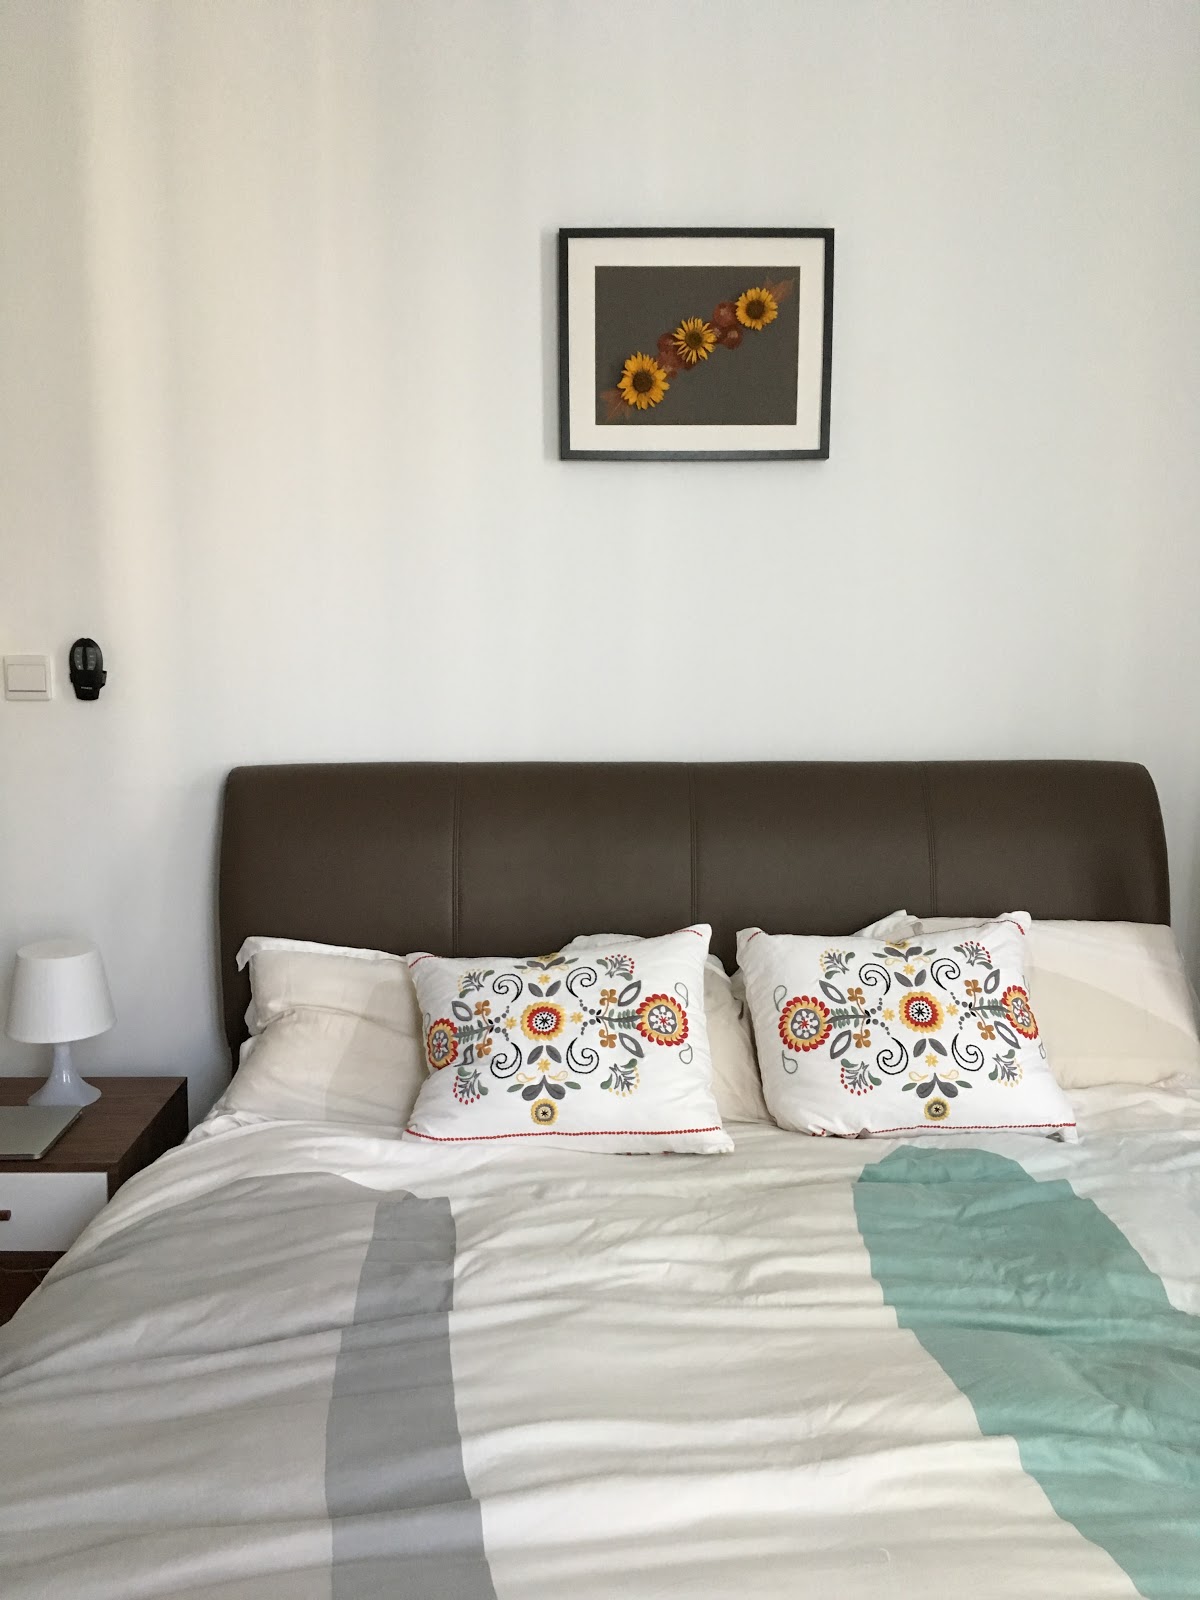 |
| There you have it — Tuscany in our bedroom |
And now it hangs beautifully on our bedroom wall. Every time I look at it, I get transported back to our lovely summers in France… and also to that great road trip in Tuscany.
Although, it’s been three days now since I’ve framed it, I noticed that the petals are starting to droop again due to gravity. Perhaps I need to use some sort of lacquer? Any suggestions? Will hairspray do the trick?
Thanks for reading and have a lovely week! 🙂
